Search Results for:
Touch Loupe for Sony BURANO Instructions
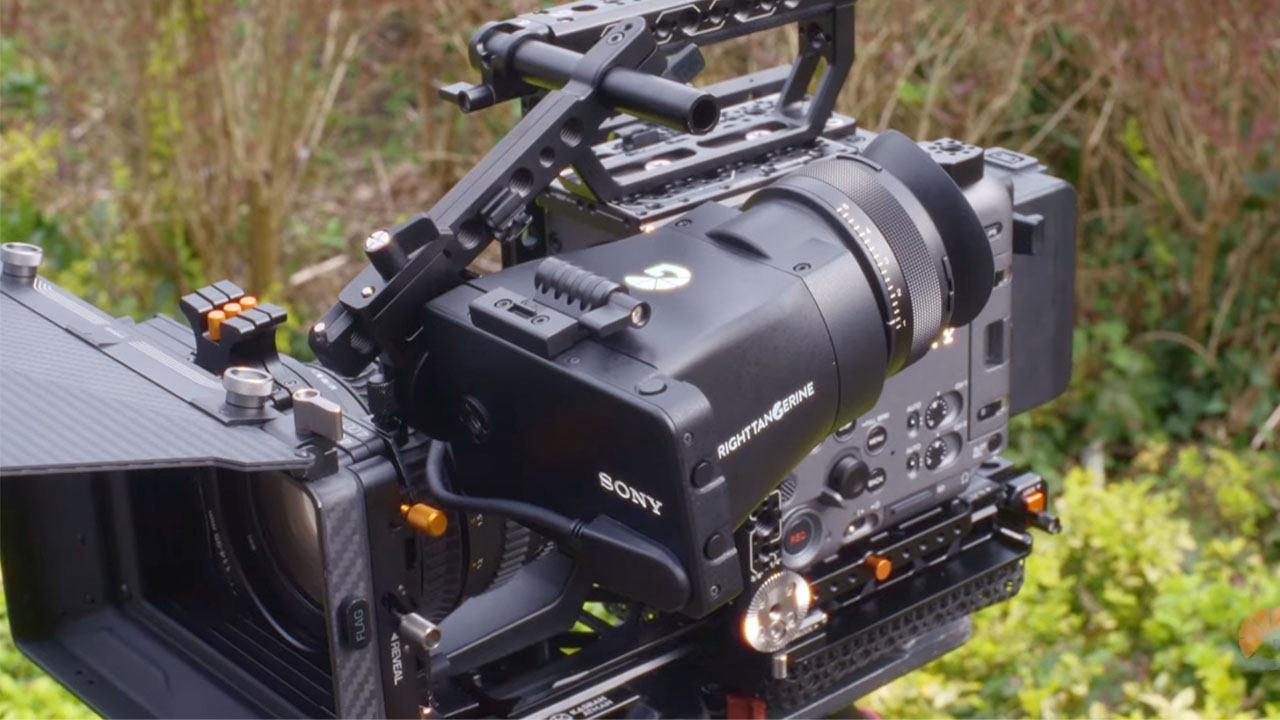
In the box
- Touch Loupe Adapter
- Lever Lock
- Dome Nut
- Hinge
- Light Seal (four pieces)
- T8 Key
- Interchangeable Low Profile Lock
Additional Tools Required
- Small Philips screwdriver
Touch Loupe Installation
To install the Touch Loupe for the Sony BURANO, begin by detaching the 90-degree adapter from the Sony BURANO loupe.
Using the included T8 tool, remove the four screws securing the adapter to the eye piece.
Insert the straight adapter, ensuring alignment of the four notches, and secure it in place using the same screws.
Installing the light seal
Included with the adapter is an adhesive light seal. There are four pieces to attach, and sit flush to the LCD screen.
Mounting the Touch Loupe to the LCD
Next, attach the hinge to the top of the LCD screen. You can then connect touch loupe, interlocking with the hinge.
To secure the hinge, thread through the locking lever, connecting the dome nut on the other end. Tighten with the small Philips screwdriver. Once the screw has engaged, pull the lever and tighten to fully secure.
Installing the space saving screw or ratchet lock
These accessories are designed to provide a secure and convenient solution, you can use either a
ratchet lock lever or space saving screw.
Step 1: Remove existing Ratchet Lock Lever
Remove the existing lock lever from your accessory. Use a screwdriver or other appropriate tool to
unscrew it.
Step 2: Insert the Interchangeable Space Saving Screw ( DIN 912 M4 x 14 or 16 ) and tighten it.
Use a HEX T Bar or Allen Key size 3 to tighten the screw. Do not over-tighten the screw.
If you want to switch back to the ratchet lock lever, simply follow the steps in reverse.
If you have any questions or concerns, please contact our customer support team for assistance.
[email protected]
Note: This instruction manual is only for the installation of the Space Saving Screw and Ratchet Lock
Lever. For the use of the accessory, please refer to the product’s instructions.


